Monday, February 27, 2017

43 Laundry Room Check-In: Tile and Wallpaper Sneak Peeks

We have been back to working in the laundry room and we made some major progress!


The tiling is complete and I am working on a tutorial post right along with this one. It turned out even better than I could have expected, and I just love the brightness and freshness it added. It was the first tiling project we tackled 100% on our own (about 8+ years ago we didn't a couple of small tiling projects with the help of my father-in-law), and we definitely learned a few things along the way.


The great thing about the laundry room is that it is just that, a laundry room. Although it is in a deep, dark corner of our basement, it has become a great place to be able to experiment with projects and even be a bit more daring with our choices. It is only for us, and really, it is mostly a room that I spend time in. The boys of the house get in, drop off their clothes, maybe start a load of laundry, and book it right back out. But me? I like to work in there. I enjoy folding my laundry straight from the dryer while listening to tunes, as well as ironing and tinkering with cleaning supplies and small household projects...

And I have always wanted to utilize a floral wallpaper in our house but with all of my guys ruling the roost, I haven't really had much of an opportunity. I have considered adding it to a bathroom or even my office, but those rooms are so frequently used and seen that I have held back. After checking with Bryan, he said if I was going to do it anywhere, the laundry room would be the place to give it a whirl. You don't have to tell me twice, once I had a thumbs up from him I added that paper to my cart and then anxiously awaited its arrival.


Before presenting the paper to Bryan I had looked at a lot of different options. The main goal was to select something colorful with movement, and also something temporary. Traditional wallpapers are typically a very large investment and can be a huge challenge to remove down the road. With a good temporary paper, I won't have to worry about the aftermath a few years from now should we sell our home (no plans) or I change my mind (more likely). There are so many great peel and stick papers on the market now and with new designs hitting the scene daily, you really can't go wrong with this application option.

There was one design in particular that continuously caught my eye on Instagram and I kept coming back to it, and after some encouragement from a few friends, I finally jumped on it. I selected the Floral Loquat in Sky Blue by Samantha Santana. All of her designs speak to me and are so beautiful and the colors are brilliant and happy. Plus, I love supporting fellow creatives and small businesses; it is like I now have a giant wall of her artwork in a pattern I haven't seen used anywhere else yet.


Something in me has changed over the past few years, and I have been less and less likely to be fearless with color and design and trying new things. It has been so frustrating! I have always been known to toss up color without thinking twice, or adding a fun pattern to a room or a bright abstract piece of art. Zero hesitation and all gut and then I would encourage all of you to be brave with your choices as well. But it has been quite some time since I have gone bold or tried something out of my comfort zone. And this paper was it.

The installation was one of our fastest yet; we had square and smooth walls to start with and the paper came in 2' x 4' panels which are just easier to work with. I am sure it also helped that we have installed a few peel and stick papers in the past and have found ourselves a good system.

So, how do I feel about it?

The paper itself is stunning and lovely and everything I wanted it to be. It is just SO pretty. And it pairs wonderfully with all of the white on all of the other walls. The pattern is a little overwhelming and I am not sure it would have worked so well if we didn't have a cabinet in the center of the wall to break up the busyness. That said, I can't wait to finish up a couple of things on the opposite side of the room and photograph the entire space as a whole. I am really excited and interested to see how it feels as a whole once I bring back in all of our daily belongings.


The subway tile is a white beveled tile from Home Depot and I initially had purchased a gray grout but at the last minute swapped it out for white.  The white grout really gave us a polished and finished feeling and filling in those grout lines elevated the wall completely. The only thing I am questioning now is the stain (or lack thereof) of the floating shelf we installed previously. It feels a little light and peachy but I might just wait to see what happens once I have my detergents and belongings on display.


We have been using the updated space for a few months now and the functionality the counter and sink has added is off-the-charts-amazing. I have a whole new love for the room and how it works for us. On the flip side, I am having major faucet regrets. I liked it initially but the more I use it, the more I am disappointed. It just doesn't offer enough pressure and it also doesn't have a nozzle to switch to a spray mode. I thought this would be fine being that it is just a sink in the laundry room and is already worlds better than our previous utility sink faucet, but considering I use this room for stain scrubbing and brush cleaning and everything in-between, it just isn't powerful enough for me. So now I am on the fence, I may update it or we may look into the option of adding a sprayer... I will keep you posted.


We still have a few things left to finish up before we are 100% done, but I wanted to be sure to pop in and share where we are at currently. As we start pulling together the final details, we may end up making a few small tweaks, but overall I am so thrilled with where things are heading. I know some folks think it is "just a laundry room", but with five people and a couple of furry friends in our family, I find myself in this room all of the time. So let's high five to turning a dungeon basement space into a place with some color and life!

Catch up on previous laundry room update posts below:

Lowering Hookups & Installing a Counter
Installing a Drop-in Sink
Adding a Decorative Toe Kick

Friday, February 17, 2017

10 Just Three Things & Some Link Love: 02 | 17 | 17

Happy Friday, Friends! What a week it was, but today was wonderful. Our weekend weather forecast is unusually great for this coming weekend, and that always puts a little extra spring in my step.

So what is new with you all? Last week I started work on a client project that I am ridiculously excited about. A full kitchen organizational overhaul has begun, and after a couple of days of solely sorting and purging, it is already feeling much lighter and easier to navigate (no fancy organizers necessary to get to those feelings). She mentioned that looking at it as a whole was overwhelming, but just having someone there to help her with her decisions and to work next to her was a huge aid in finally getting it done. And she is so right. There are times when I become overwhelmed with specific projects or messes and sometimes just having someone else to talk things through is just what I need to finally dive in. So moral of the story, if you are stuck, call a friend (and I know that isn't rocket science but it is a good reminder).

We also dove back into our own projects this week and finished our laundry room tiling and wallpaper, both turned out better than I could have imagined. So a huge hooray for organizational and home projects! I can't wait to share both soon!

In the meantime, a few other small things that recently caught my attention.


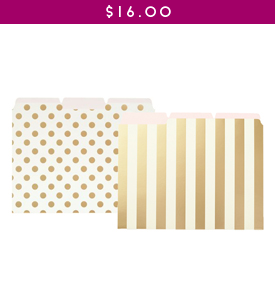
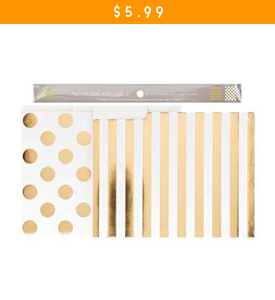
I typically steer clear of the dollar section at Target because I know it is basically just one big temptation island of cute and random things that I absolutely do not need. But, I did spot some fabulously fun file folders calling my name from an end cap, and at a price of three for a whopping dollar, it was too good to pass up. I use file folders for organizing everything in my daily life, so why not use ones with a little pizzazz?

__________

Last month I took a quick trip to Texas to visit my dear friend, Grace, and while I was there I had the opportunity to lend a hand during a nursery installation. It was such an amazing experience for me; I learned so much about the entire process and it was so exhilarating to see the darling space come together at the end of a long day. Grace is such a unique talent and working with her on any project is such a treat.
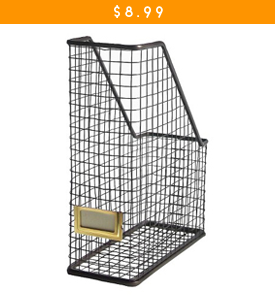

I was able to see a little magic happen while she was sourcing options for a changing pad tray. Generally, changing pads are placed inside of large wood trays that sit on a dresser or changing table. The trays not only give the space a cleaner look, they also hold the pad in place during changings. These trays can be heavy and expensive and even challenging to source, but as we were walking the aisles at The Container Store, bam, an idea was born.


This underbed basket ended up being just what the space needed, it was a perfect pairing and couldn't have worked out better to hold the pad on top of the new dresser. #geniusgrace To keep it from shifting, just cut a piece of rug pad and place it between the basket and dresser top. Or use picture hanging Command Strips.

And, now I have baby fever...

__________

Finally, I spotted the most beautiful home and a new designer to follow in this month's HGTV magazine.


You can check out Shannon's home and portfolio here, and follow her on Instagram here. I can't even handle the bathroom; those hex tiles have me all giddy and feeling really good about our recent kitchen tile purchase. And the wood tone paired with that rich wall color? Gah... I am almost speechless.
__________

I have had quite a few tabs open on my phone since the first of the year, and thought it would be fun to share some of the articles that caught my attention. All of these are quick and inspiring reads that I have gone back to multiple times over the past month.

10 Habits of Highly Organized People

The Ultimate Decluttering Guide: 130 Things to Get Rid of in the New Year

15 Organizing Tricks for Inside Your Most Clutter Prone Spots

The Ten House Rules You Need to Embrace Once and for All This Year

How to Get the Designer Look in Your Home on a Budget


Ten Ways to Practice Self Love


__________

And last but not least, I am calling on you readers! I am starting back up with the What Would Jen Do series and would love for you to submit your trouble areas (questions and photos) to me as a potential future WWJD problem/solution post. Submissions can be sent to wwjendo.iheartorganizing@gmail.com, and I will aim to select spaces that may be a common dilemma for a handful of my readers, as well at topics that can be accomplished on a moderate budget (think nooks, pantries, entryways/closets, playrooms, bathrooms, etc...). Also, please note that you must be willing to share your photos and story right here to be considered.

On the flip side, if you have a space or project that you tackled and are feeling organizationally excited and proud, I would LOVE to see them! I am bringing back the Reader Space features and I would love to help you spread your tips and excitement. I am on the hunt for projects that have made a positive impact on your life; big or small. They can be anything from an organized drawer, a DIY project or an entire room overhaul. Please submit your story and photos to iheartreaderspace@gmail.com. Photos should be high resolution and taken in natural daylight if possible (blog not necessary to participate). Please include a brief description of the project and how it has changed your life or routine for the better, and I will follow up for additional details prior to featuring. Oh! and no worries my friends, we will NEVER judge "before" pictures because that just wouldn't be nice! Only love goes on at this blog! I can't wait to hear from you and continue to celebrate all of those organizing successes!

Have a fabulous weekend everyone! And I hope your weather treats you well!

Monday, February 13, 2017

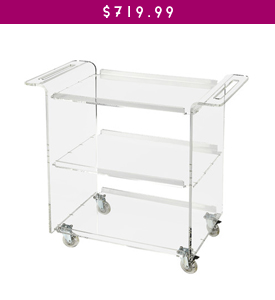
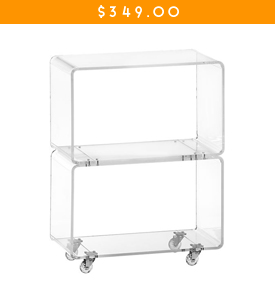
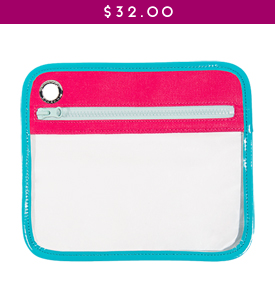
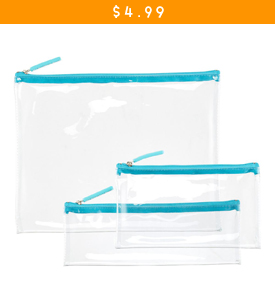
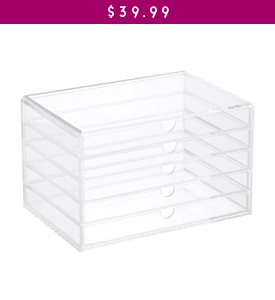
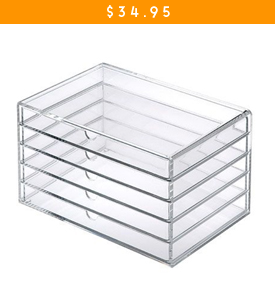
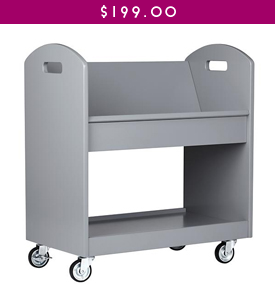
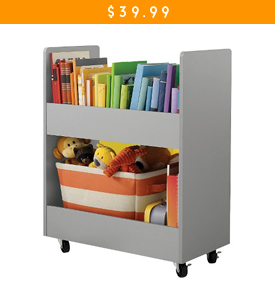
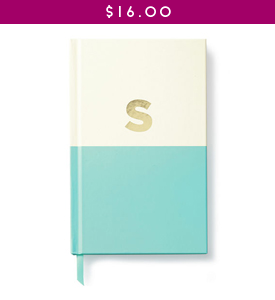
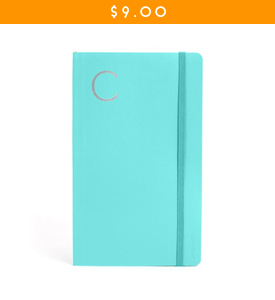
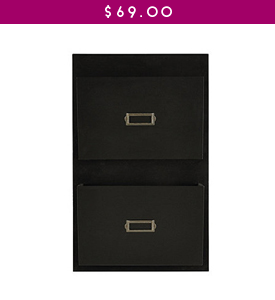
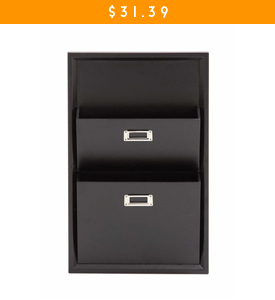
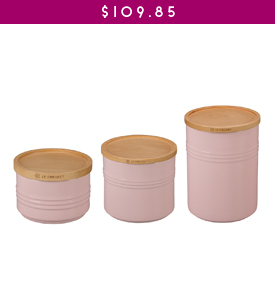
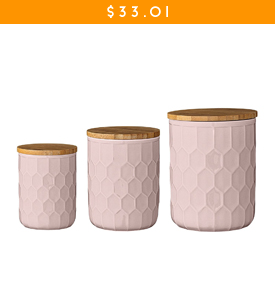
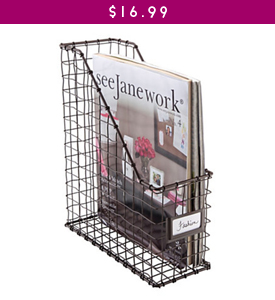
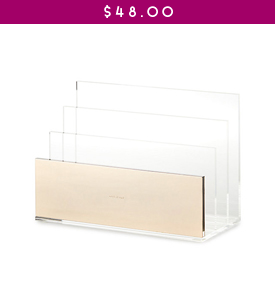
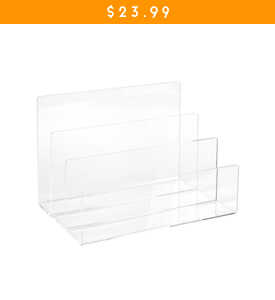
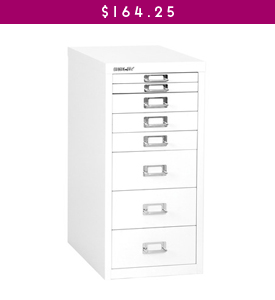
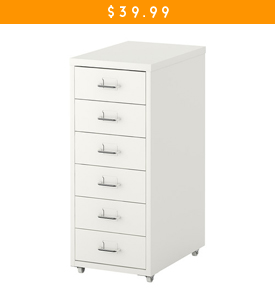
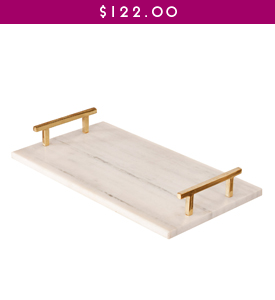
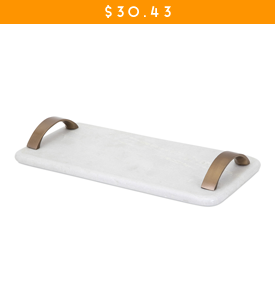
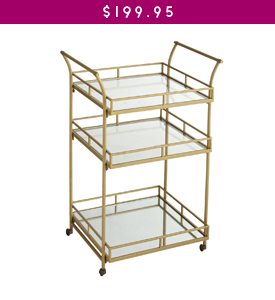
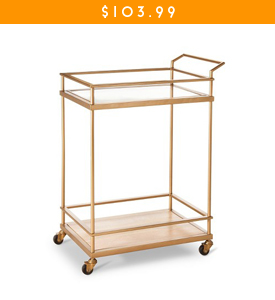
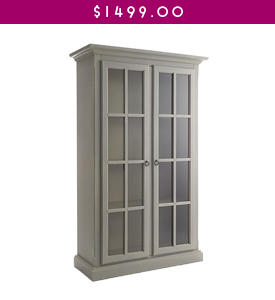
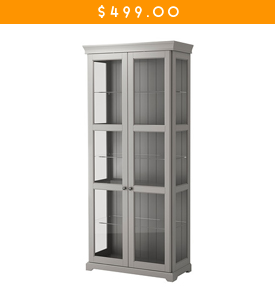
7 The High | Low Storage Game: February 2017

My favorite series is back today with some new and exciting high | low products! The past couple of high | low posts have been pretty popular; I have even had a few of you email me to help source a few specific items at thrifty prices.

It is easy to see a beautiful room (or even a closet) and instantly feel as though it is not obtainable, but that is where the fun comes in! Because truly you can pull inspiration from a room done on any budget. Maybe that is why I always loved Sabrina Soto's High/Low Project, and why the High/Low pages are the first I head to in HGTV's magazine every month. It is also why we tend to DIY many of the storage items around our home.


What makes one thing more expensive than another is always based on many variables; size/dimensions, quality, finish, materials, demand/availability, brands... And it is always a personal choice in regards to what you are willing to sacrifice for the sake of saving a dollar or two. Sometimes we may decide to splurge on something because the quality can't be beaten, and other times we may shop around and get the look by hacking an item from IKEA. It is all a give and take, right?

Many of you have expressed that finding items on a budget is important to you as well, but I also know many of you love stylish storage just as much as I do. So this series was born; The High | Low Storage Game.


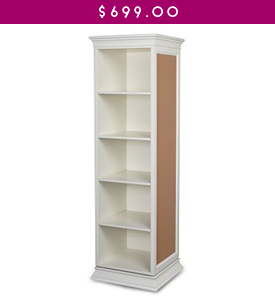
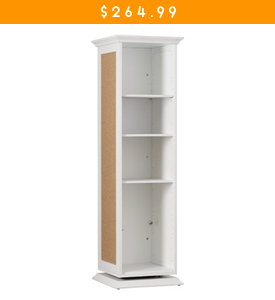
I thought I would start out with one of the items a reader submitted. Her daughter is heading off to college and she was looking for a similar storage solution to the Pottery Barn Teen Display-It Storage Mirror. After a little searching, I was able to track down a very similar piece on Wayfair for a fraction of the high-end price. Aware that some folks love to find a way to hack or DIY something to come in even lower, I also let her know that an even cheaper option would be to utilize a bookcase tower, similar to the IKEA Kallax, and affix it to a wood base with turntable hardware. Then, with Command Strips or glue, add a mirror to one side and cork tiles and hooks to the other. I totally want to try this someday because I think it could turn out really fabulous!

OK, that is just one example, are you ready for more? Over the past few months, there have been a plethora of products that caught my attention as I have been working on projects and helping friends and family source storage solutions.


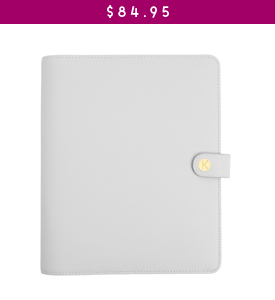
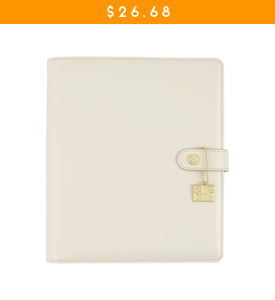
I selected items that I would naturally gravitate to in an organizational, storage and design state of mind. And the best part is that the low-cost version can absolutely function just as well as the item in the high-end column. Some even have identical dimensions, but only cost a happy fraction of the price.

While I pulled these particular items, I used a variety of methods to find a budget version of the higher end design, and I shared many of those tricks here.

I would love to know if there are certain storage items that you would like for me to focus on specifically. It can be anything from office supplies to playroom bins to drawer organizers. I am game!


* Affiliate links used

** Prices listed and product availability are always subject to change based on the product source. I listed the item/price based on the day of the post, but have no control on the prices after the post goes live.