

Aniko, the endlessly talented voice behind Place of My Taste blog, is here with her step-by-step tutorial for creating a darling little rope basket. And don't forget to check out her fab video at the end of the post as it will surely convince you to try this project out for yourself. Take it away Aniko!
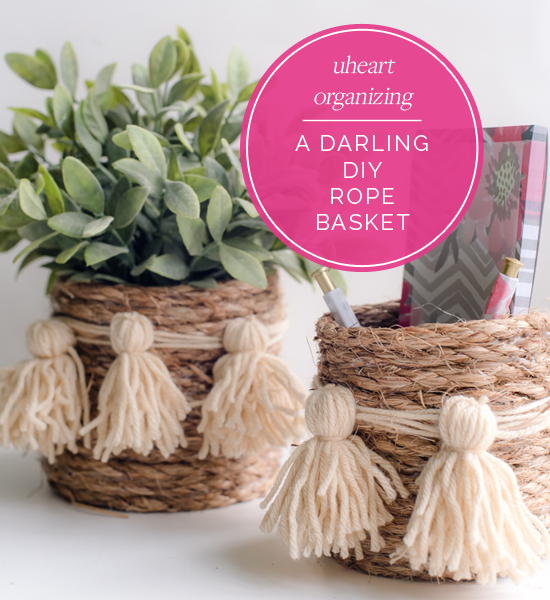
Little things can make me happy. Cute little things like these incredibly sweet rope baskets that I made the other day to keep my remote controls in one place.
I am currently working on a new living room design, and I envisioned our new room with a lot of layers, textures, and a little bohemian infusion. I bought a new jute rug, and I layered it with a shag rug in the room. With that pairing in mind, I thought a rope basket would make a perfect home for my remote controls. After the first basket was done, I soon realized that I needed more of these baskets as I can use them to organize many other things around the house.
Another bonus is that it's a very simple and quick DIY that you can tackle literally in minutes on a rainy afternoon.
SUPPLIES:
- Thick rope from the home improvement store
- Hot glue gun and glue sticks
- Scissors
- Yarn
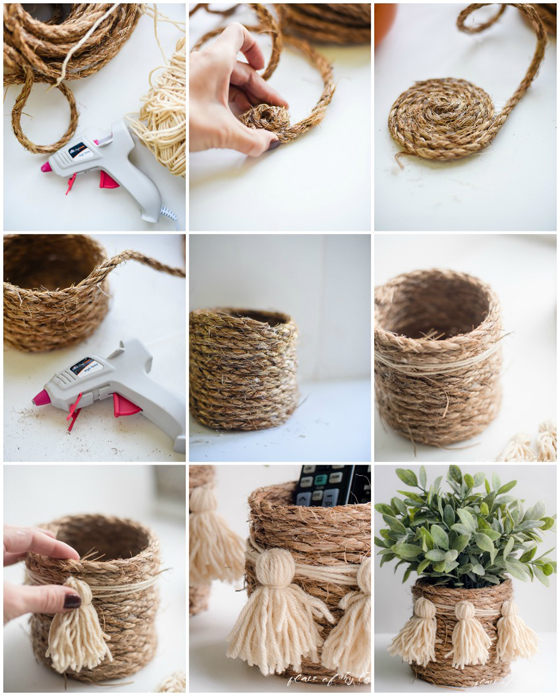
- Add glue to one end of the rope and start wrapping the rope in a circle
- Keep wrapping the rope until you have made the size that you would like the base to be
- Once the base is created, start wrapping the rope upright
- Wrap until the desired size, then cut the rope and glue the finishing end to the basket
- Bonus step: affix some charming DIY tassels with string or glue

- use it for holding stationery items at your desk, on your counter or near your entryway
- use it as a planter
- corral your remote controls near a chair or sofa
- display it on your kitchen countertop for utensils or wooden spoons

Here is a peek of the basket in my living room. Today I am sharing this stylish Danish modern chair makeover on the blog, so hop over and see how the room is coming together.

I also created a quick video tutorial of how I made my basket. I hope it will encourage you to make one for your home as well!
Thanks for reading! Cheers

"Hey there. My name is Aniko and I blog over at Place Of My Taste. I am a wife, mother, business owner by day, DIY-er by night, design, decor and photography lover by heart who loves to cook, taste wine, dance for therapy and create all things beautiful. I share all this love over at my blog - at my happy place. Come see me there. xo"
These look so cute! I would love to try making them. I'd also love to know (roughly) how much rope you used for those baskets, and their dimensions. Thanks!
ReplyDeleteOMG that is so cute
ReplyDeleteI am always losing the remote
Perfect...Thanks for sharing
Rose
Love this little DIY project & the tutorial video at the end helped answer a few of those lingering "how to" questions!! Thanks for sharing Aniko!
ReplyDeleteThat is so cute! And I love the addition of the tassels. Thanks for the ideas!
ReplyDeleteSo cute! I'm making one now!!
ReplyDeleteDarling little project!! Thanks for sharing :)
ReplyDeleteLauren Baxter | Lovely Decor
xx