


My gal pal already owned an unfinished craft crate, which can be usually be found at home improvement stores, craft stores, and even Target. The crate was the foundation piece when it came to designing the pantry and coming up with the shelving widths, right from the start I had envisioned tossing some casters on it and putting it to work. And as we checked off storage solutions for each type of food, produce and the crate were the last two options standing. The idea sparks flew and I took on the task of figuring out how to make the crate ideal for holding a variety of veggies.
With all of the cosmetic upgrades we were giving to the closet, I really didn't want to leave the crate in its unfinished state. But knowing that food was going to be stored inside of the crate, I didn't want to reach for just any wood stain. I started researching food-safe wood stains and found there really aren't a lot of options. Some suggestions I found showed individuals using a regular stain and then using a food safe protector over the top, but I wasn't convinced that was the best or safest option. So I dug around some more and finally found some food-safe stain on Amazon in a dark walnut wood tone.
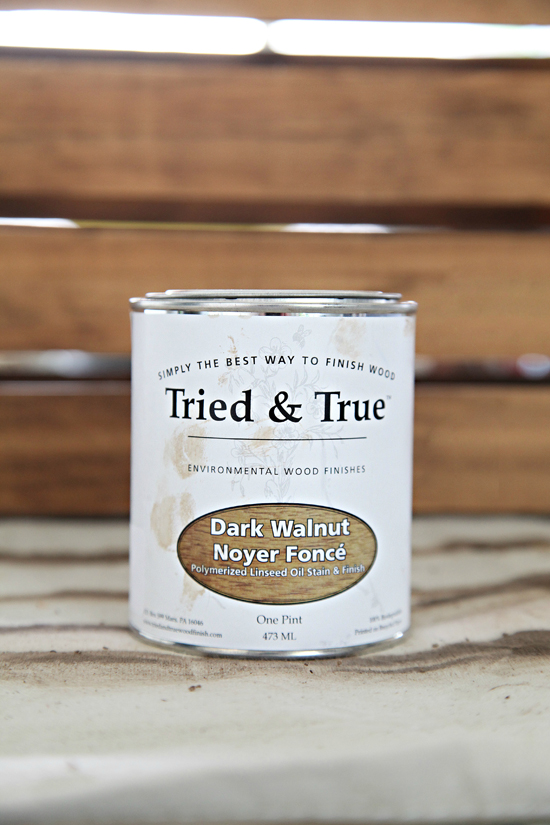
This stain was not the cheapest, but I am sure I can find more uses for it down the road so I decided to purchase it for this project. It can also be used for knife blocks and cutting boards and woven baskets and butcher block...
I applied the stain just like I would any regular wood stain, but right away found it to be more of a gel stain finish (it is nice and thick). It was really important to pre-sand the crate as much as possible to help the stain absorb well. I covered the entire crate with stain using a sponge brush before wiping it off with a clean rag. It definitely sat on the surface for a minimum of ten minutes. I also found it best to let it dry outside for a few hours and then wiped it down a second time to be sure all of the stain was completely removed from the surface.
We weren't completely sure how we were going to add the dividers, so I took a trip to Home Depot and strolled down the molding aisles. I grabbed a few 1/4" x 2" x 3' poplar boards as they seemed to be really close to the width of the crate planks. I got them back home and they couldn't have been more perfect!

We had some scrap 1/4" panel board (similar) that we thought would make the perfect dividers, so we cut the poplar boards to length, leaving just over 1/4" space between them for the dividers to be able to slide in and out with ease.

We used the smallest nails we owned with our brad nailer, but they still poked through to the inside. Womp womp. We were able to use our Dremel to easily shave off the small bits of the nails, but a better option probably would have just been to use a construction grade glue and clamps. Also, I would have stained the board prior to adding them to the crate but it wasn't too difficult to use a little wood filler and stain the added pieces after the fact. Quick tip: a cotton swab helped get the stain into any weird nooks and grooves. Also, we were going for slightly rustic which was a nice and forgiving change.

The dividers fit like a glove!
I found some casters at our local Ace (similar), and also scoped out their hardware department to pick up exactly the right sized nuts and bolts to secure them to the bottom.


We measured and predrilled the bottom of the crate and attached the casters with the hardware.


Once the entire piece was assembled and stained, I went over everything was a good coat of protective food-safe oil and wax.

Ta-da!

I also added a piece of shelf liner to the bottom prior to adding the veggies to the crate. I cut it to size but didn't peel the backing as I wanted it to remain removable and easy-to-clean.

Oh! And as you can see I added a decorative pull to the front to make it easier to access and also because it was the project's icing.

As much as I crush on label holders and lazy susans and clear canisters, I get most excited about creating storage and watching it in action! This crate was the star of the show and truly "produced" an abundance of smiles for the family. #punny And that is totally how I roll! #punnyagain
Is anyone else suddenly craving a good guacamole?
This was such a fun and quick project, and I adore the versatility of this great little crate! I learned a few new things with this project, and would love to know if you have tried any alternative food-safe staining options and if so, how have they held up?

Thank you! I wondered how you got a router down inside that crate to make the grooves..ha
ReplyDeleteHave you tried coffee as a wood stain? It might be a cheaper and safe alternative. Looks great!
ReplyDeleteI have heard that coffee is a great natural stain. I actually tried it about a year ago on a knife block project I DIY'd, but didn't have much luck. Could have been the wood type though, so it is definitely something to consider/try for some projects!
DeleteDefinitely tucking this away for my own, desperately needed pantry makeover! Thank you for finding all the foodsafe options!
ReplyDeleteThat is beautiful! I think I could make something similar to store newspapers for burning in the winter. Question: When you store your onions like that, do they spoil the other produce? I haven't found a good way to store them besides chopping and freezing them.
ReplyDeleteIt is said that onions can spoil veggies quicker than if stored separately. I guess it just depends on how long you want things to last or if you are only buying for a week or two at a time. To help them last a little longer they can be wrapped in paper and stored in a cool, dark place.
DeleteHi Jen, this project looks amazing, like everything you do. I do have a little tip for these sorts of projects. You can buy wood glue sticks that heat up in a hot glue gun. I've read that its best to have a separate glue gun for craft glue vs wood glue, and I wasn't liking the idea of having a short corded small glue gun in the garage so I actually purchased the Ryobi one that works with the lithium batteries. I just finished painting my laundry room cabinets and shelves and I am planning on making some wood risers to help me maximize the space. The glue sets up quick with this type so you dont need clamps. If you use a high temp glue gun you get more working time than if you use a low temp. Thought i'd let you know considering the types of projects you do, this might make things easier and quicker for you!
ReplyDeleteI think you have convinced me to check these out! Thank you so much for the tip! I truly appreciate it and it sounds like an amazing option! ♥
Deleteomg I LOVE this for my pantry! on my way to get supplies ASAP!
ReplyDeleteI'm pretty sure this is the most clever hack of these wooden crates I have seen yet! So brilliant!
ReplyDeleteThis post is awesome! It was so informative, I didn't know that food safe stain existed. I love this idea and guacamole sounds great! :)
ReplyDelete-Noelle
Elle-no.com